Tour Down Under (2018) Photos; Stage 1: Port Adelaide → Lyndoch, 145 km |
| « Stage 00 photos | return to: « Tour Down Under 2018 Dashboard | Tour Down Under (2018) photo gallery | Stage 02 photos » |
 |
| share this photo |
|
 |
| share this photo |
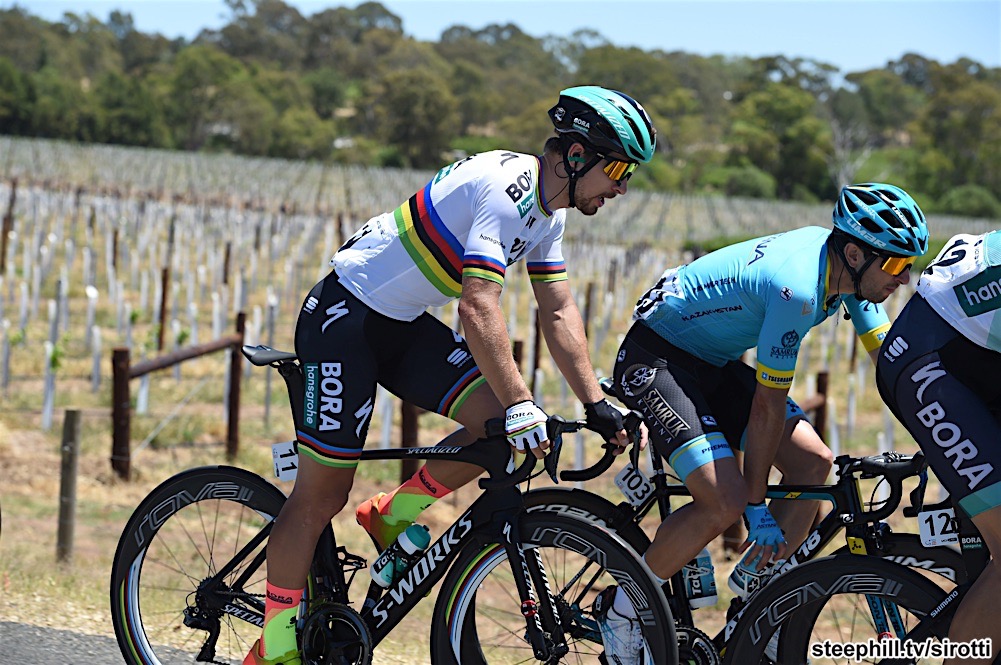 |
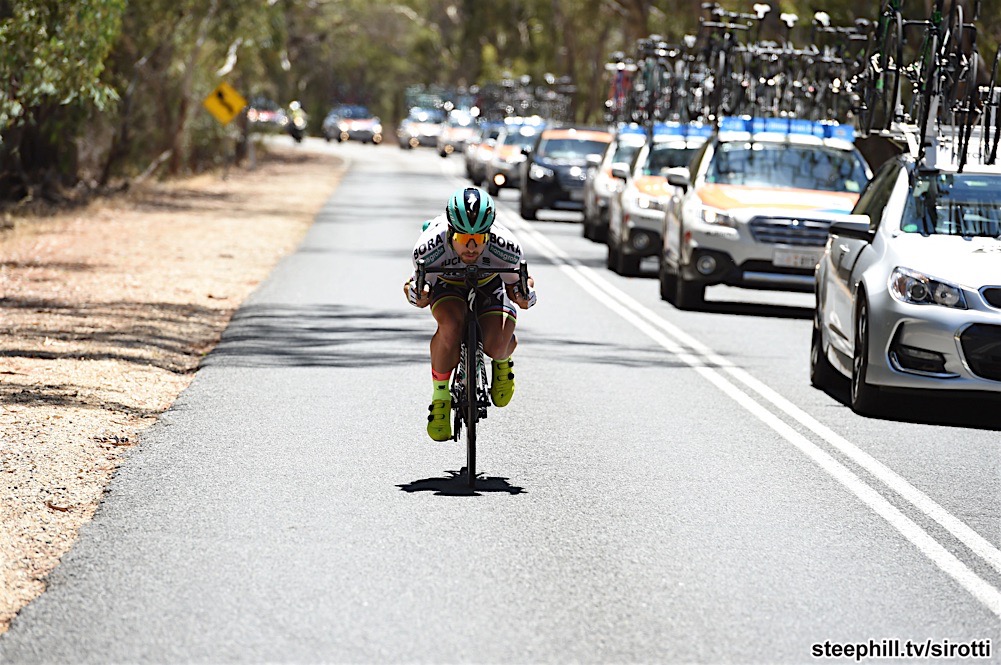
| Peter Sagan | share this photo |
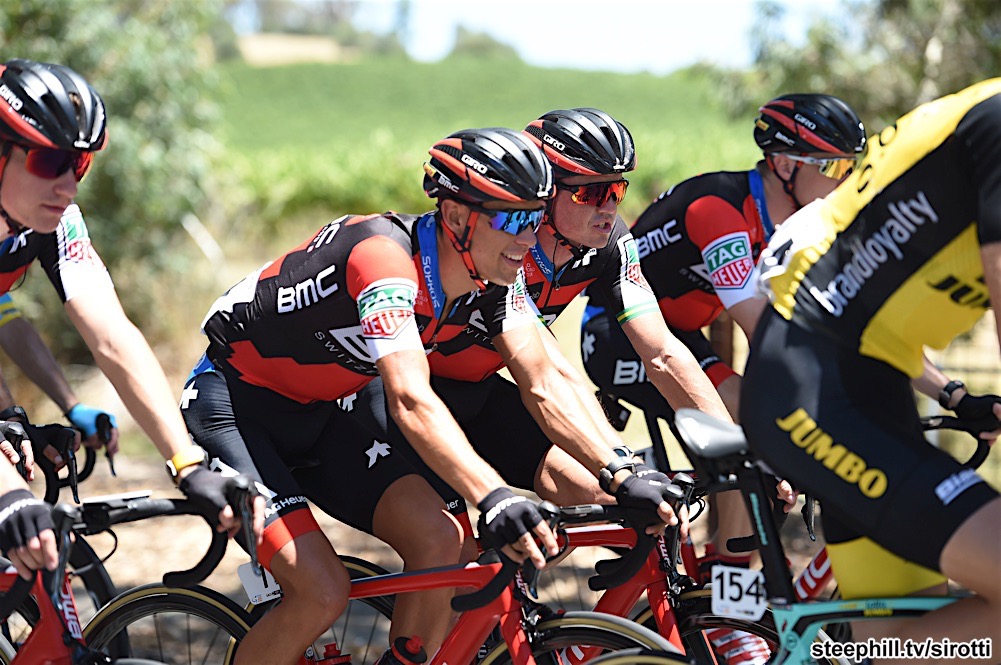 |
| Richie Porte and Simon Gerrans | share this photo |
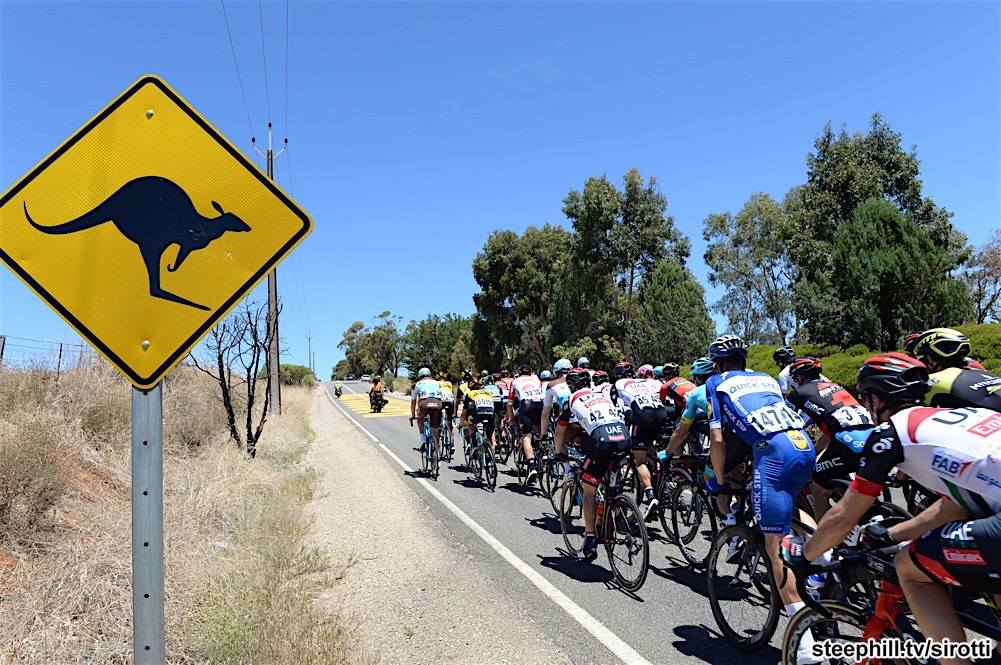 |
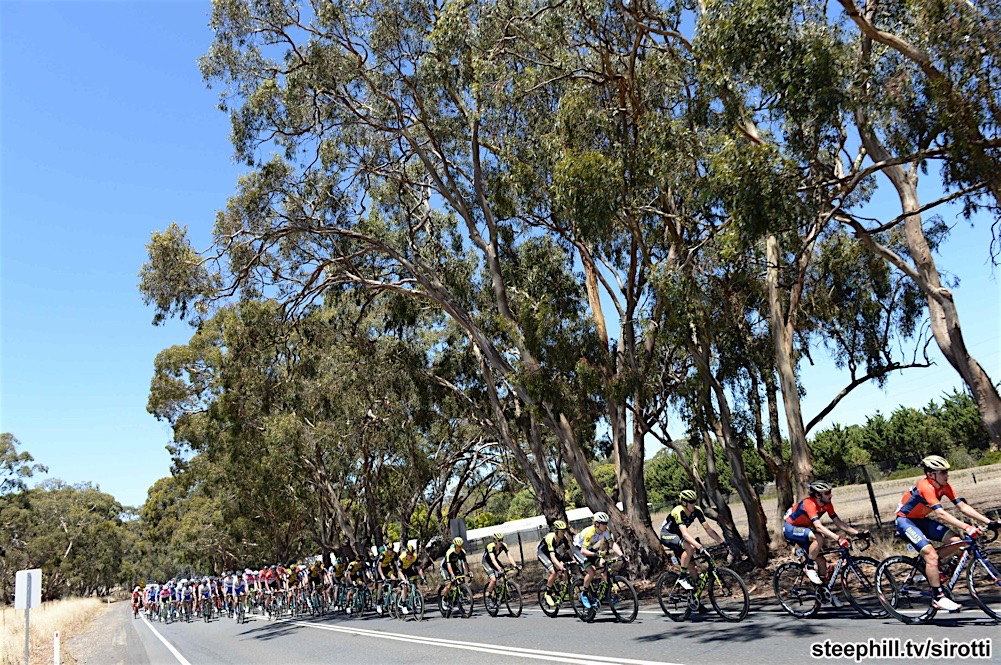
| Roo crossing | share this photo |
|
 |
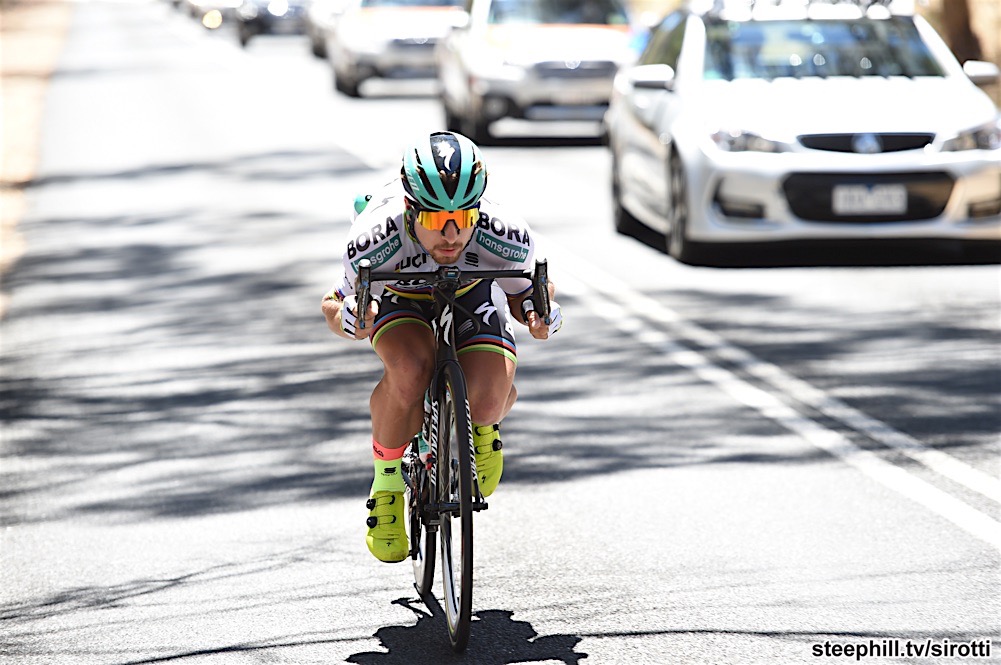
| Peter Sagan getting aero on a short descent | share this photo |
 |
| share this photo |
 |
| share this photo |
 |
| share this photo |
|
 |
| share this photo |
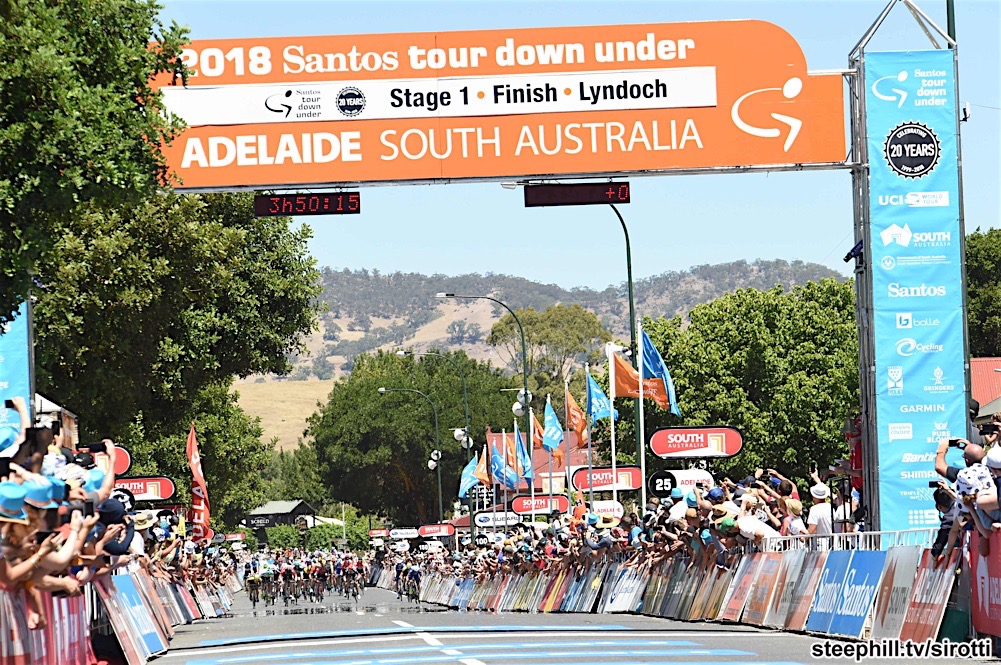 |
| The slight uphill finish in Lyndoch | share this photo |
 |
| Finish overhead | share this photo |
 |
| share this photo |
|
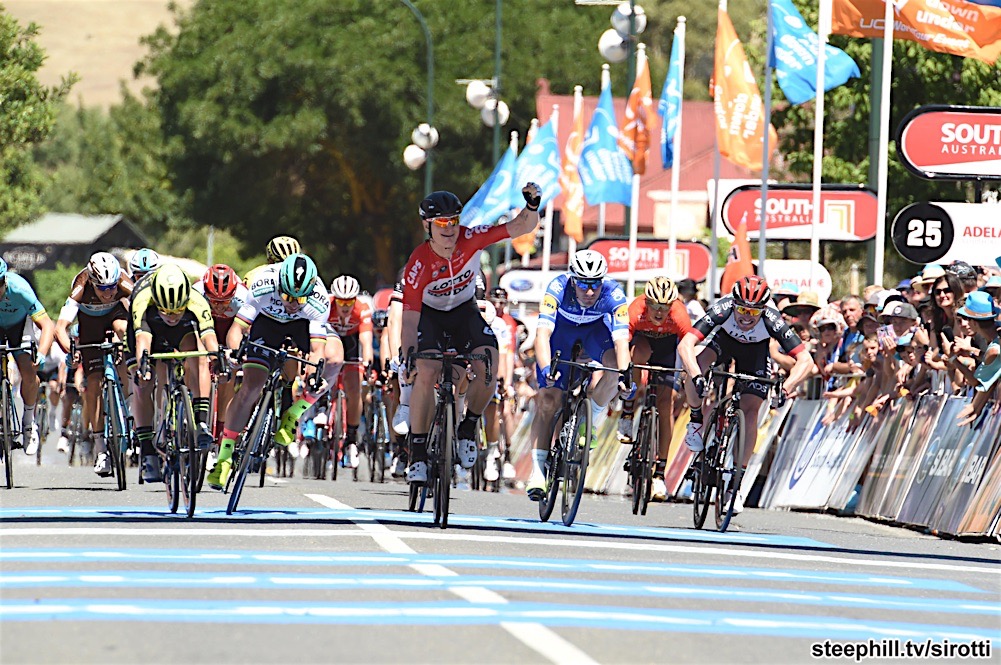 |
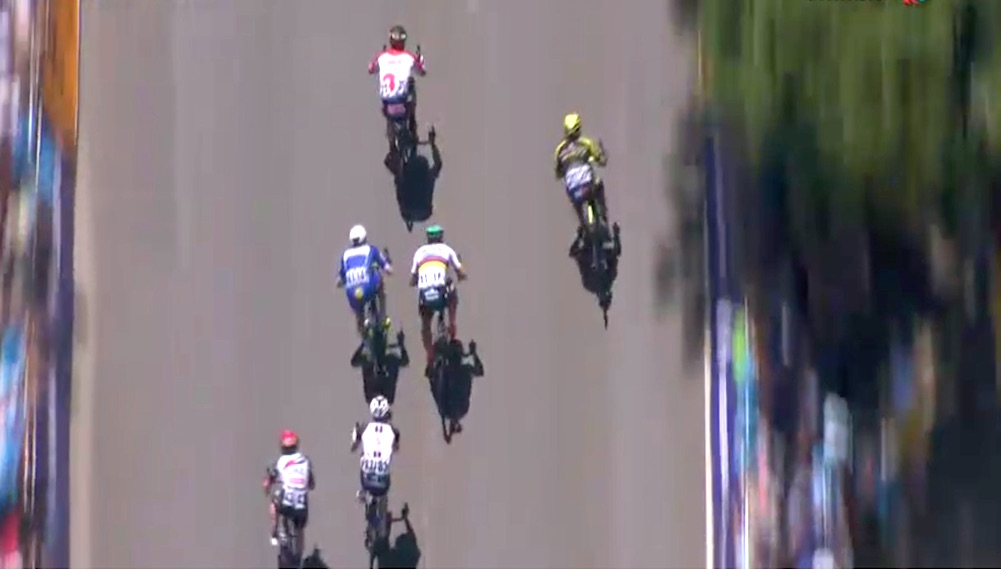
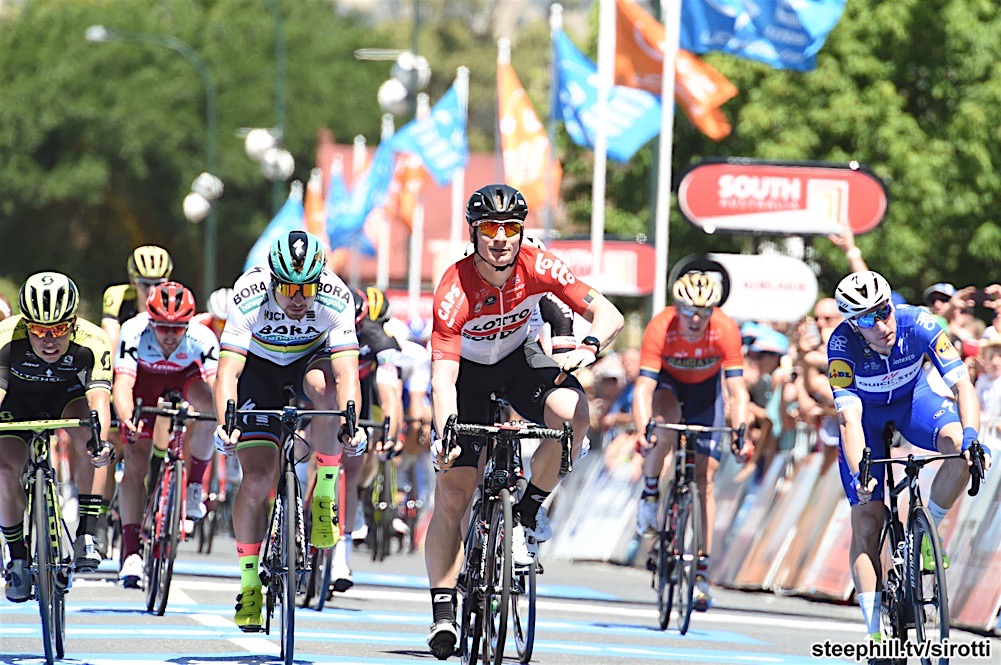
| André GREIPEL (LOTTO SOUDAL) wins ahead 2nd Caleb EWAN (MITCHELTON - SCOTT) and 3rd SAGAN (BORA - HANSGROHE) and 4th Elia VIVIANI (QUICK - STEP FLOORS) | share this photo |
 |
| share this photo |
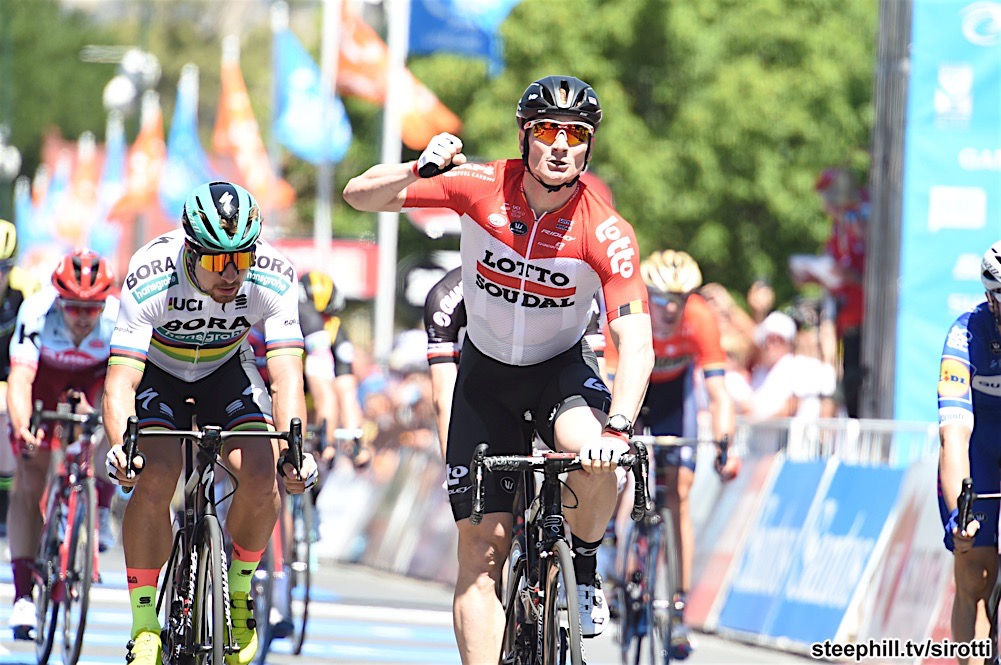 |
| André GREIPEL (LOTTO SOUDAL) | share this photo |
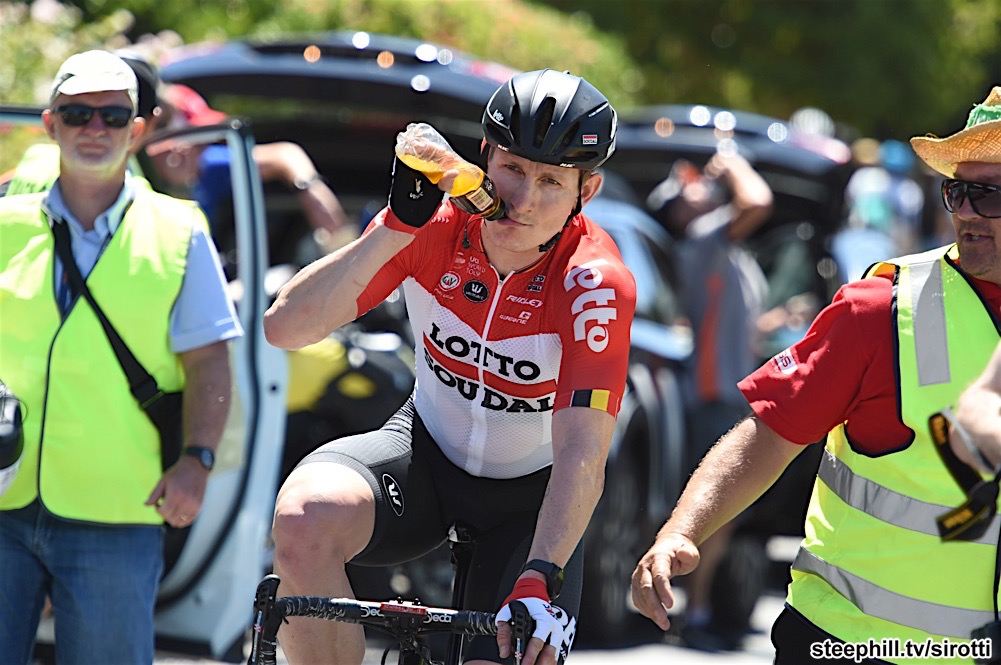 |
| The thristy winner, André GREIPEL (LOTTO SOUDAL) | share this photo |
|
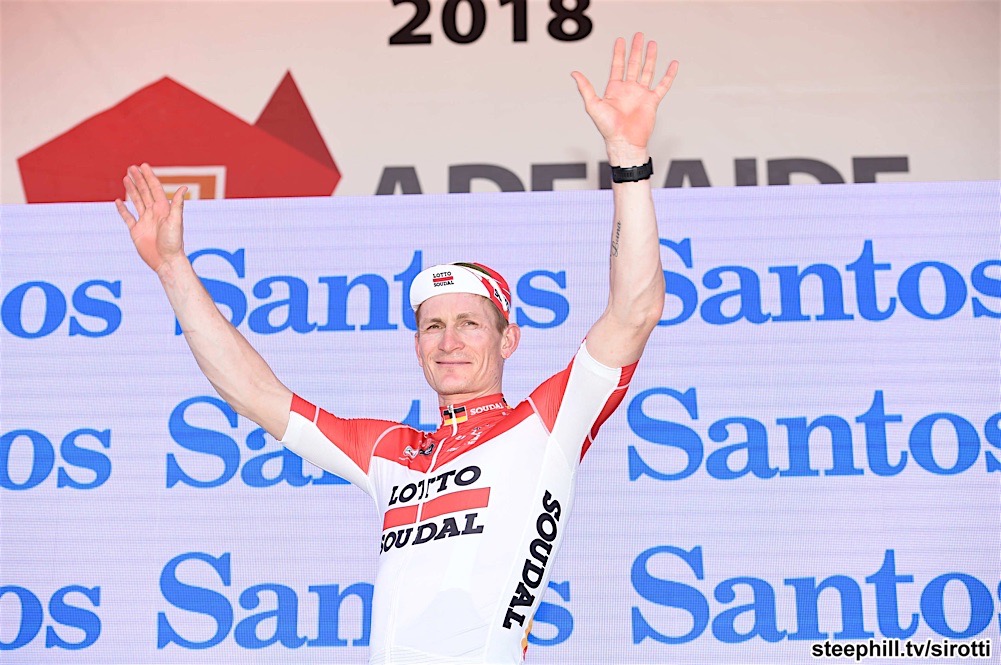 |
| Stage 1 winner, André GREIPEL (LOTTO SOUDAL) celebrates his 17th career stage win at the Tour Down Under | share this photo |
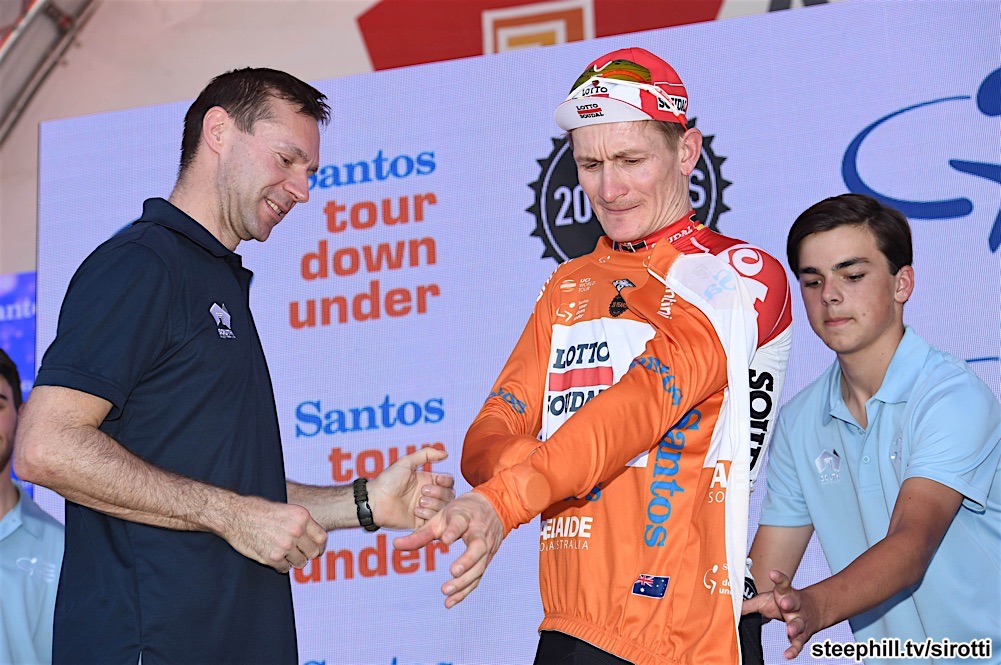 |
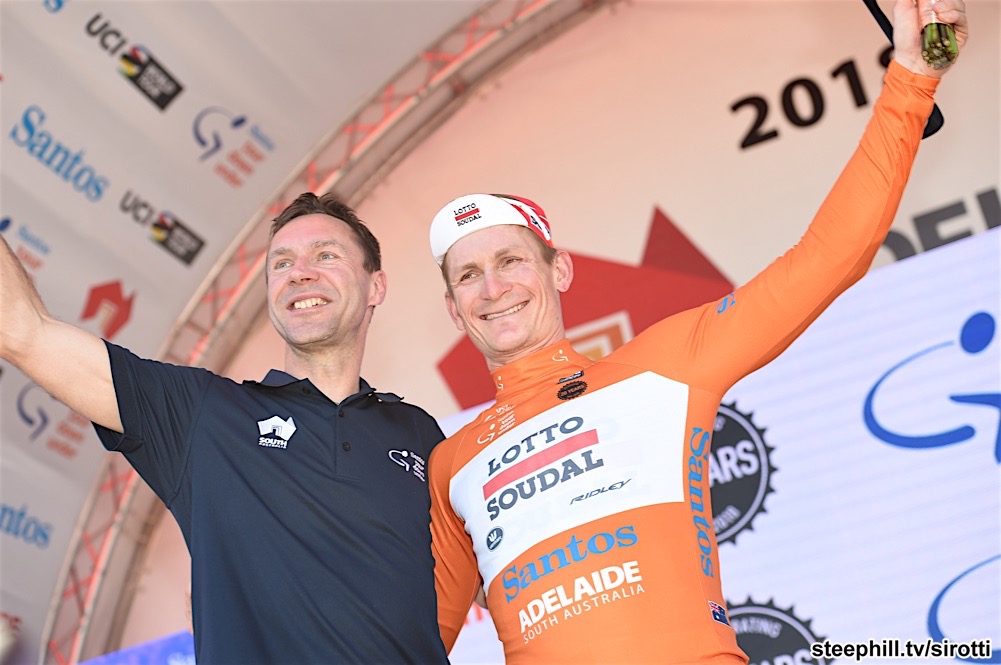
| Jens Voigt presents André Greipel with the first Ochre race leader's jersey of this year's race | share this photo |
 |
| share this photo |
Tour Down Under (2018) Photos; Stage 1: Port Adelaide → Lyndoch, 145 km |
| « Stage 00 photos | return to: « Tour Down Under 2018 Dashboard | Tour Down Under (2018) photo gallery | Stage 02 photos » |