| « steephill.tv home • |
Tour Down Under (2014) Photos; Stage 2: Prospect → Stirling, 150 km | ||
| « Stage 01 photos | return to: « Tour Down Under 2014 Dashboard | Tour Down Under (2014) photo gallery | Stage 03 photos » |
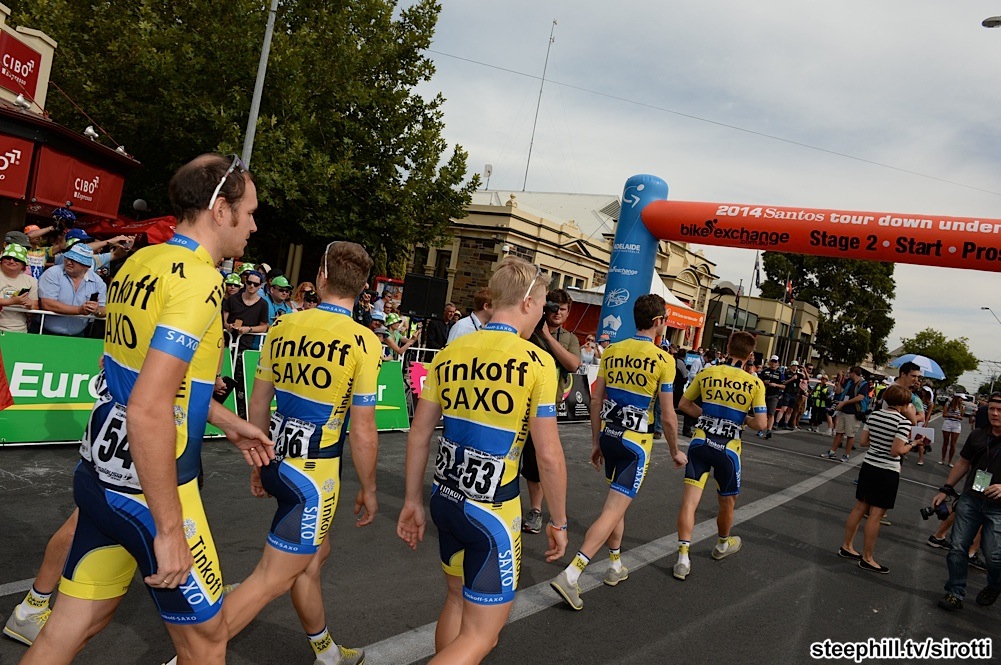 | ||
| 050-PIC429237590.jpg | share this photo | |
 | ||
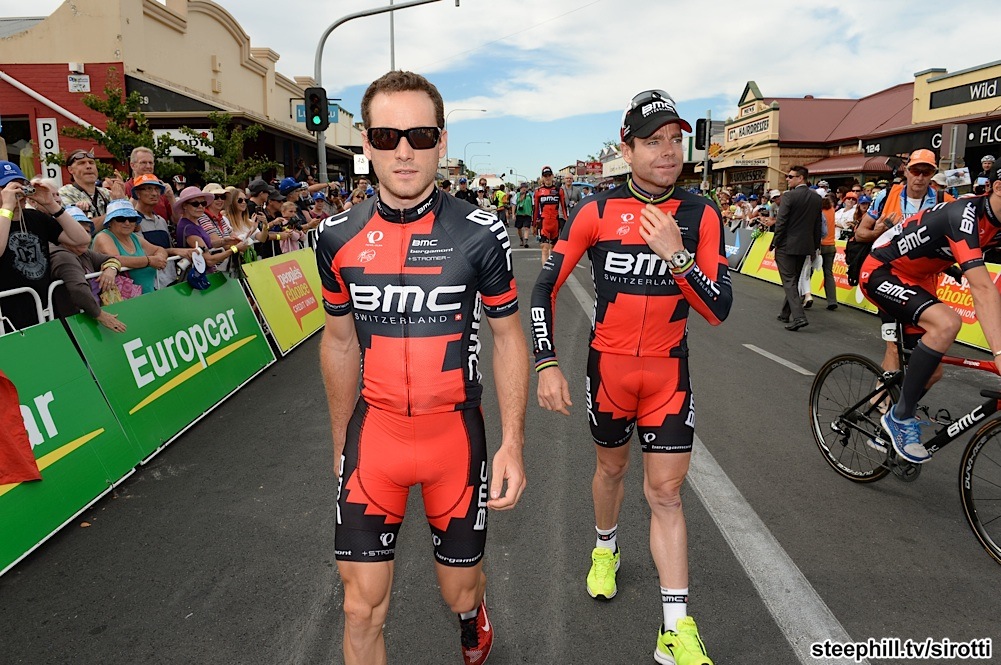
| 060-PIC429251216.jpg | share this photo | |
 | ||
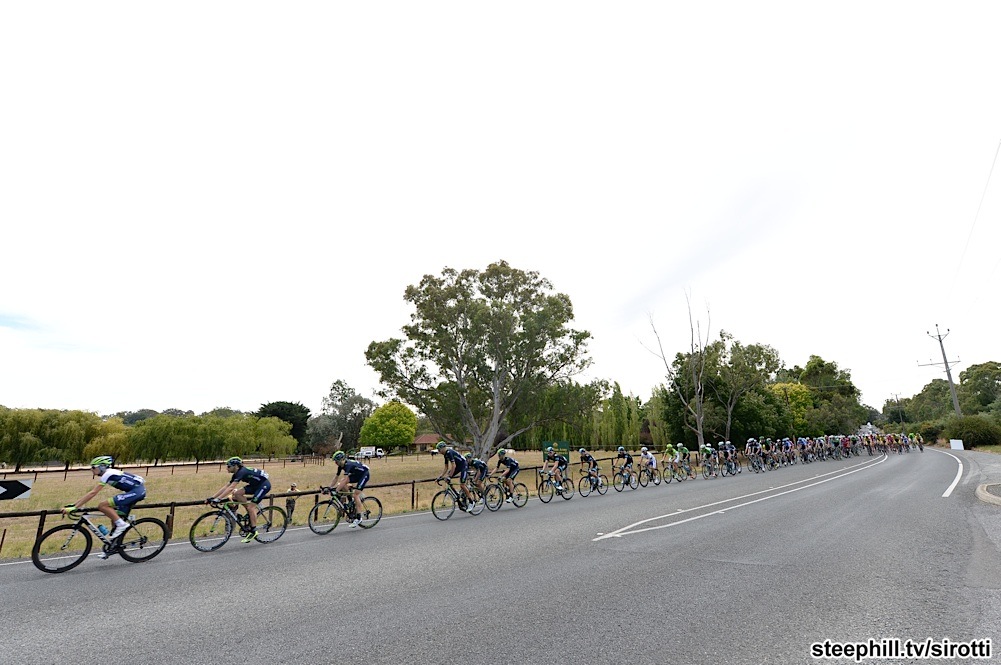
| 080-PIC429203612.jpg | share this photo | |
 | ||
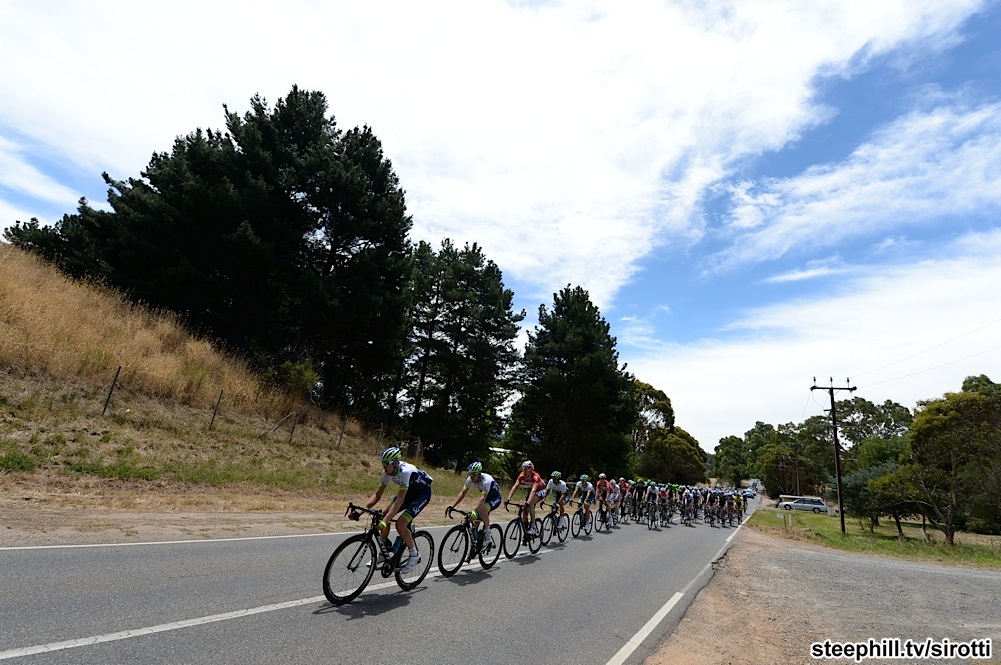
| 150-PIC429220960.jpg | share this photo | |
 | ||
| 170-PIC429227544.jpg | share this photo | |
 | ||
| 200-PIC429212790.jpg | share this photo | |
 | ||
| 205-PIC429252343.jpg | share this photo | |
 | ||
| 210-PIC429213465.jpg | share this photo | |
 | ||
| 215-PIC429216353.jpg | share this photo | |
 | ||
| 322-PIC429362867.jpg | share this photo | |
 | ||
| 325-PIC429157349.jpg | share this photo | |
 | ||
| 330-PIC429159592.jpg | share this photo | |
 | ||
| 335-PIC429167860.jpg | share this photo | |
 | ||
| 335-PIC429365689.jpg | share this photo | |
 | ||
| 350-PIC429442387.jpg | share this photo | |
 | ||
| 400-PIC429195972.jpg | share this photo | |
 | ||
| 410-PIC429197648.jpg | share this photo | |
 | ||
| 550-PIC429169625.jpg | share this photo | |
 | ||
| 555-PIC429174207.jpg | share this photo | |
 | ||
| 557-PIC429175966.jpg | share this photo | |
 | ||
| 562-PIC429178601.jpg | share this photo | |
 | ||
| 600-PIC429457803.jpg | share this photo | |
Tour Down Under (2014) Photos; Stage 2: Prospect → Stirling, 150 km | ||
| « Stage 01 photos | return to: « Tour Down Under 2014 Dashboard | Tour Down Under (2014) photo gallery | Stage 03 photos » |
| « steephill.tv home • |