Tour Down Under (2011) Photos; Stage 2: Tailem Bend → Mannum |
| « Stage 01 photos | return to: « Tour Down Under 2011 Live Dashboard | Tour Down Under (2011) photo gallery | Stage 03 photos » |
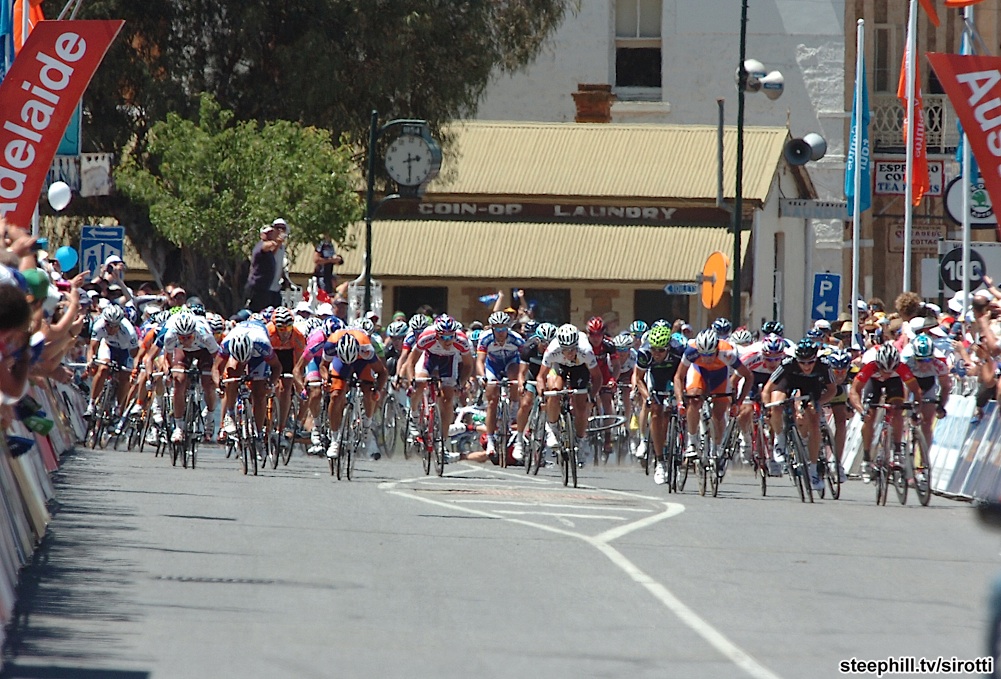 |
| A big crash developing behind the leaders with 100m to go during a mass sprint on a road that doesn't seem to be wide enough. There were also several other crashes in the final kms. | share this photo |
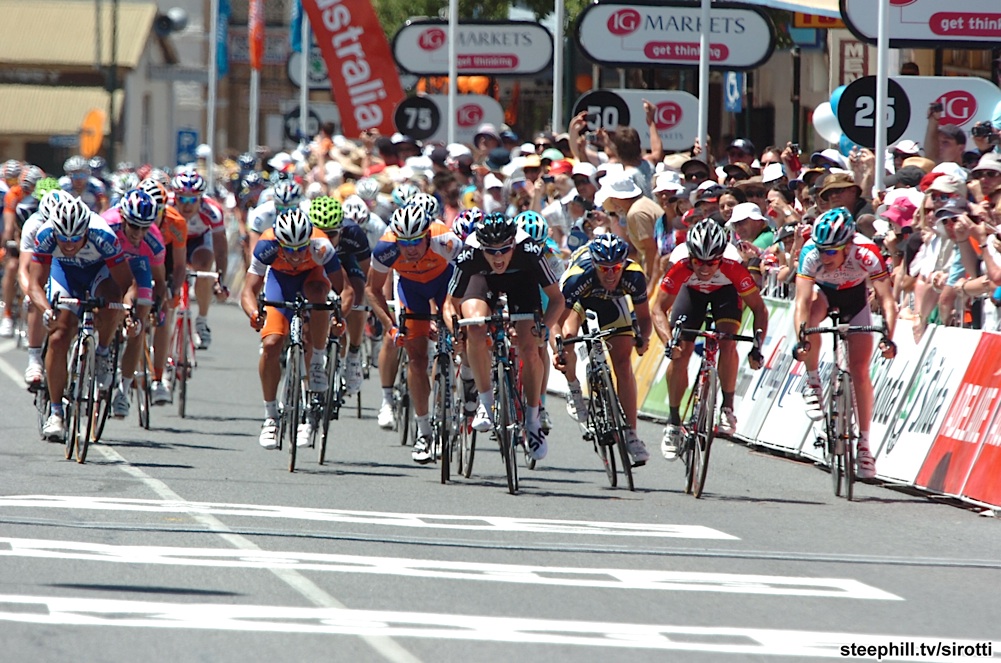 |
| The final moment of the stage 2 sprint finish in Mannum ahead of the crash | share this photo |
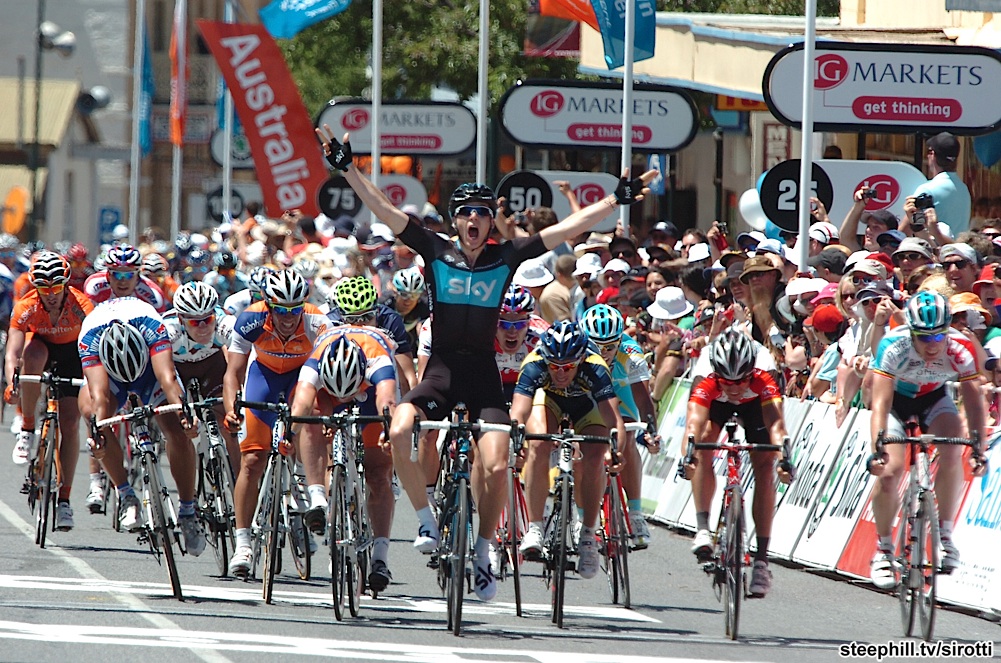 |
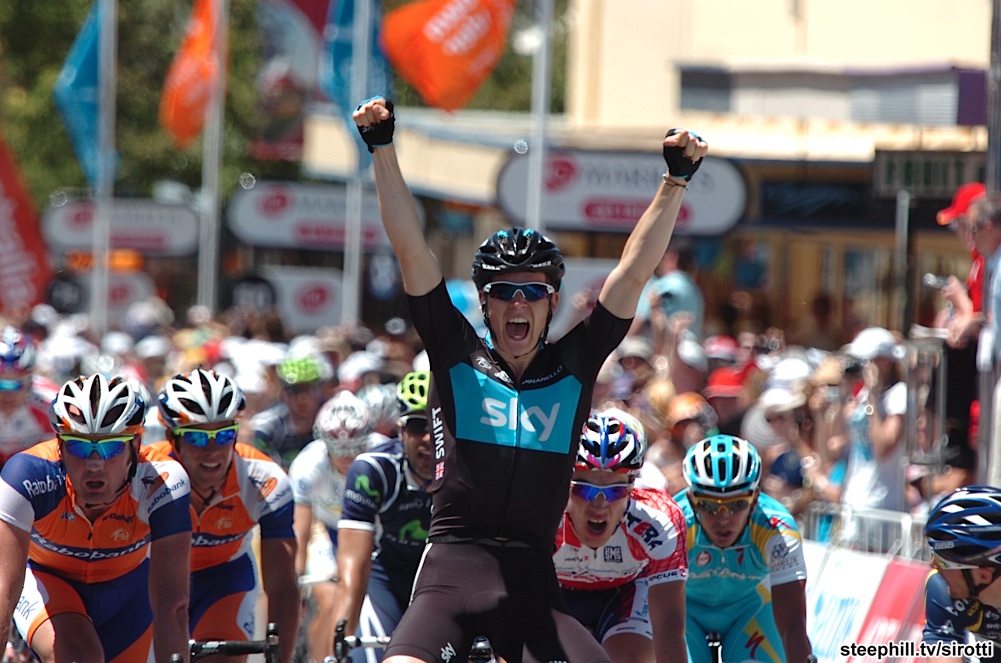
| Sky's Ben Swift (GBR) wins Stage 2 ahead of Robbie McEwen, right, who becomes the new race leader. Rabobank's Graeme Brown, left, was third. Don't confuse Omega Pharma-Lotto's Jurgen Roelandts crossing 5th for teammate Andre Greipel, who was involved in the crash. | share this photo |
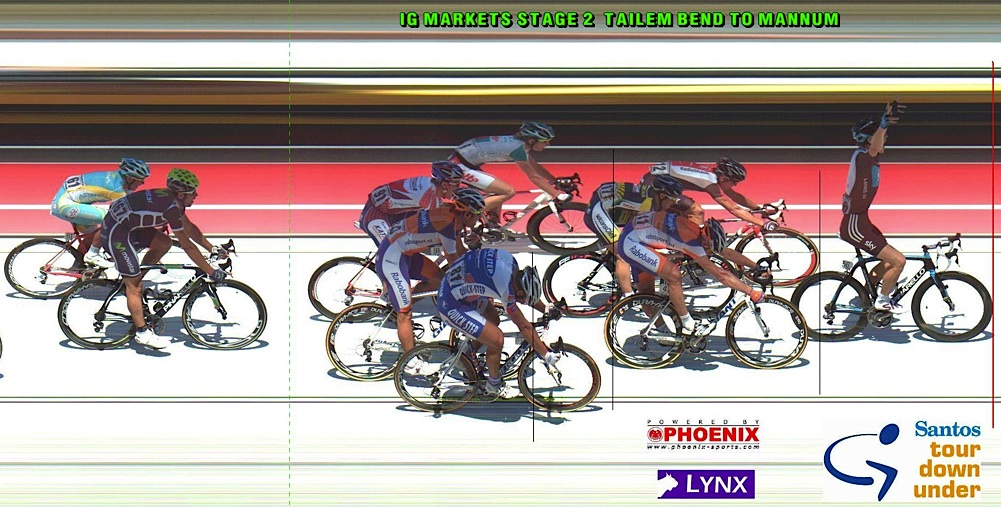 |
| The photo finish for second place won by Robbie McEwen | share this photo |
 |
| Team Sky also won two stages (Henderson and Sutton) at last year's Tour Down Under | share this photo |
 |
| Swift is a good name for a sprinter | share this photo |
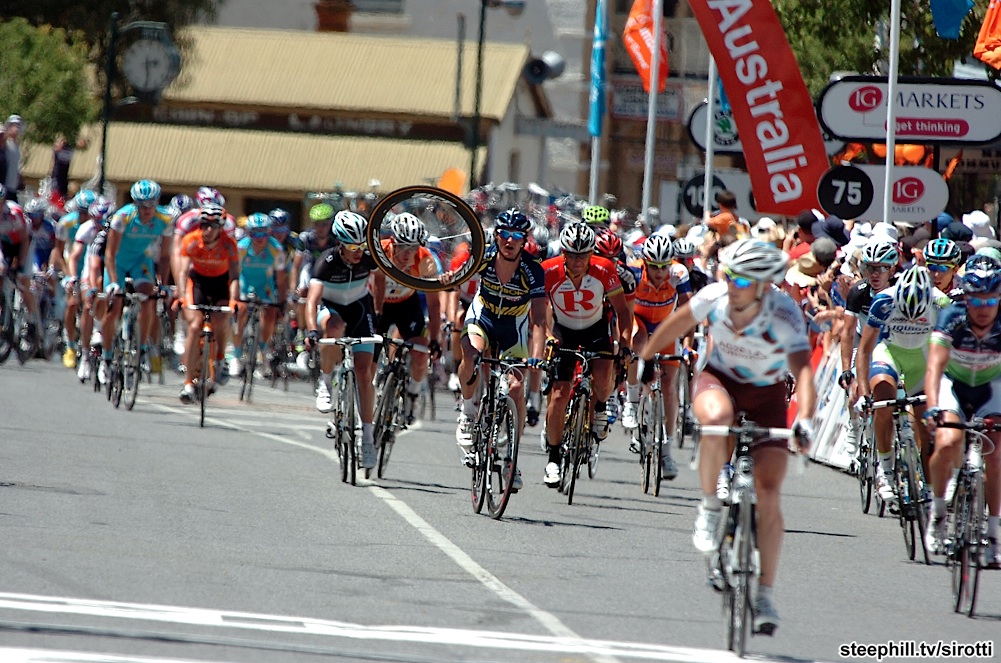 |
| Vacansoleil's Alberto Ongarato crossed with an extra wheel after the crash as Radioshack's Lance Armstrong looks on | share this photo |
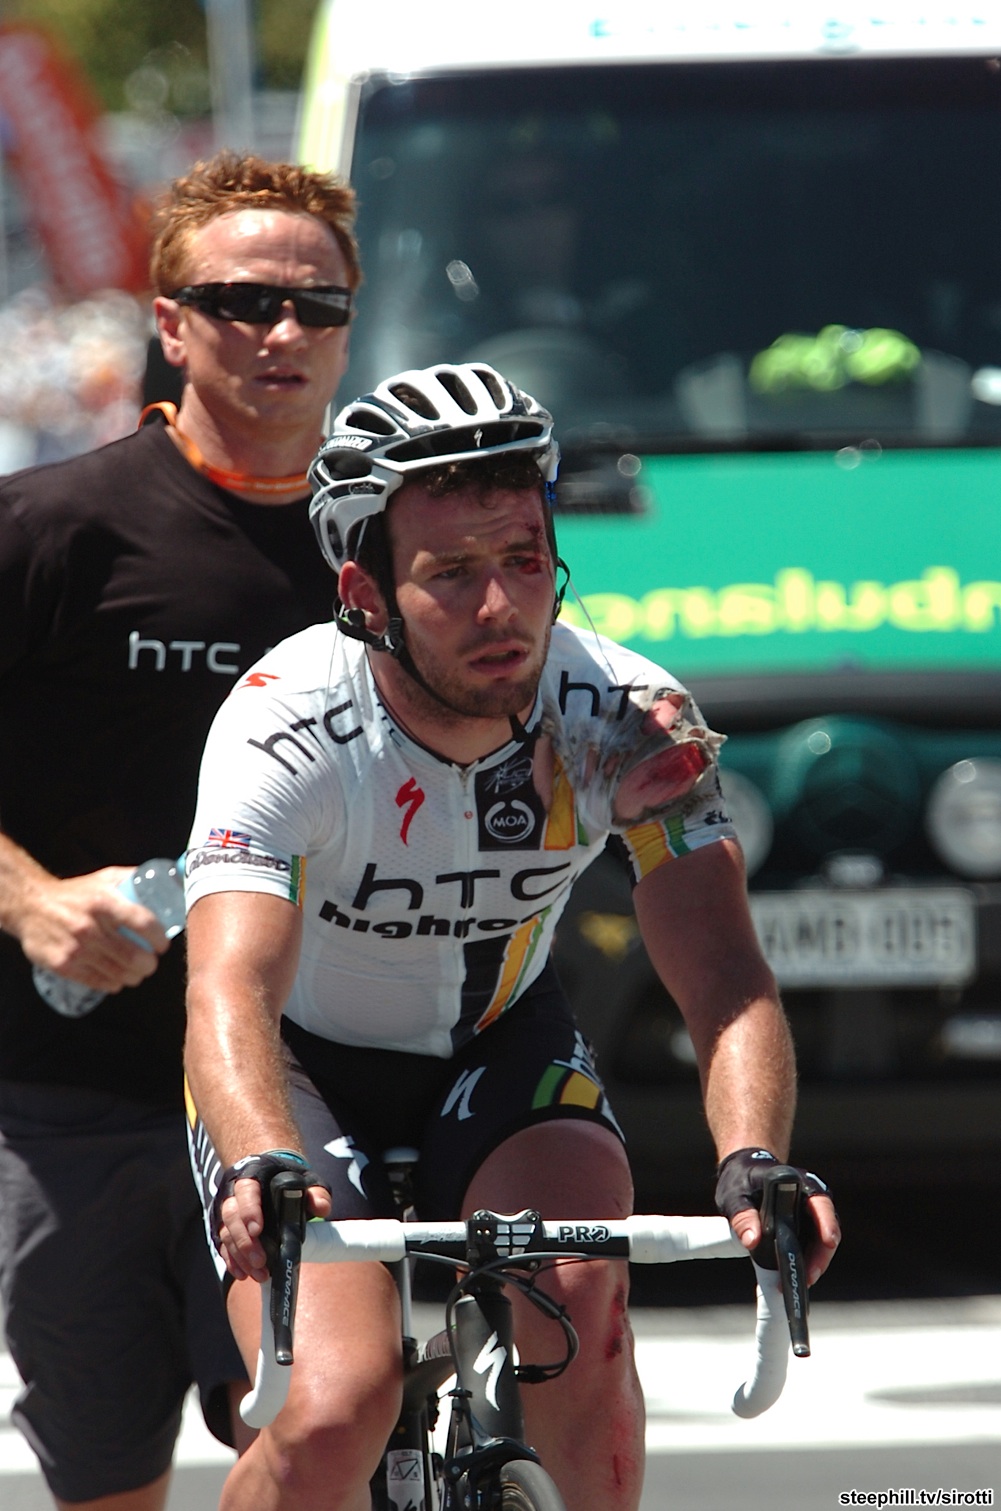 |
| HTC's Mark Cavendish was one of the crash victims during the mayhem in Mannum | share this photo |
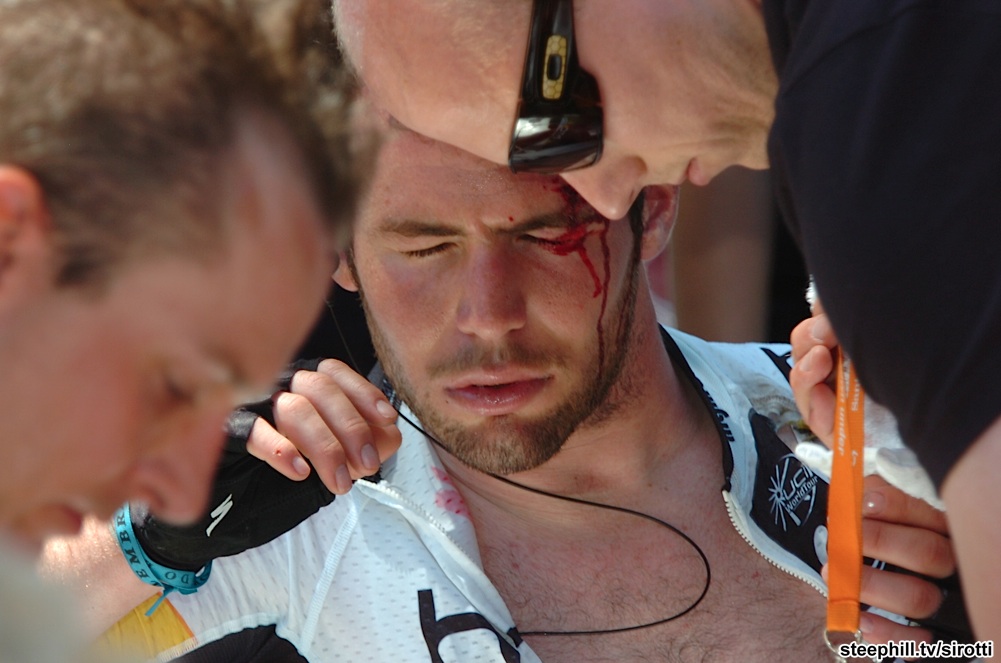 |
| HTC and event staff attending to their star | share this photo |
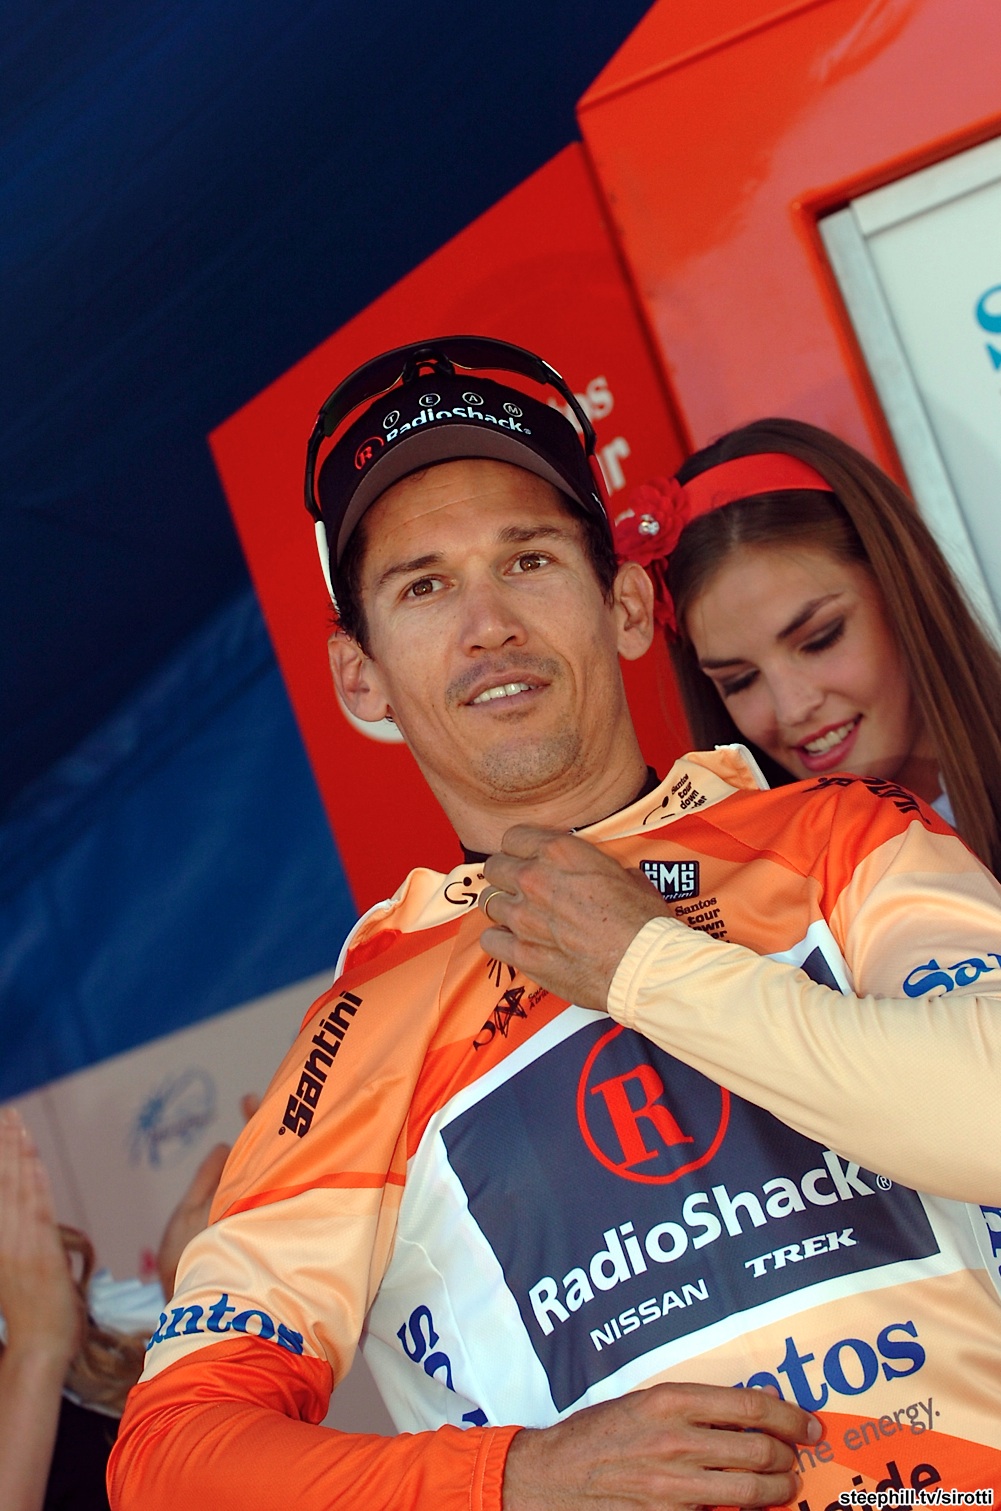 |
| Third and second on the first two days moves Radioshack and Aussie Robbie McEwen into the Ochre Jersey | share this photo |
Tour Down Under (2011) Photos; Stage 2: Tailem Bend → Mannum |
| « Stage 01 photos | return to: « Tour Down Under 2011 Live Dashboard | Tour Down Under (2011) photo gallery | Stage 03 photos » |